Hey, business owners and entrepreneurs! Welcome to DIY Website Editing 101.
We know that running a business is no small feat, and we're here to make your life a little bit easier. As experts in the field, we at Ideatech Creatives have put together this comprehensive guide to help you make changes to your website. With a creative, educational, and edgy tone, we'll teach you everything you need to know about website editing on platforms like Webflow, Shopify, and Square. Let's dive in!
Webflow – A Designer's Dream
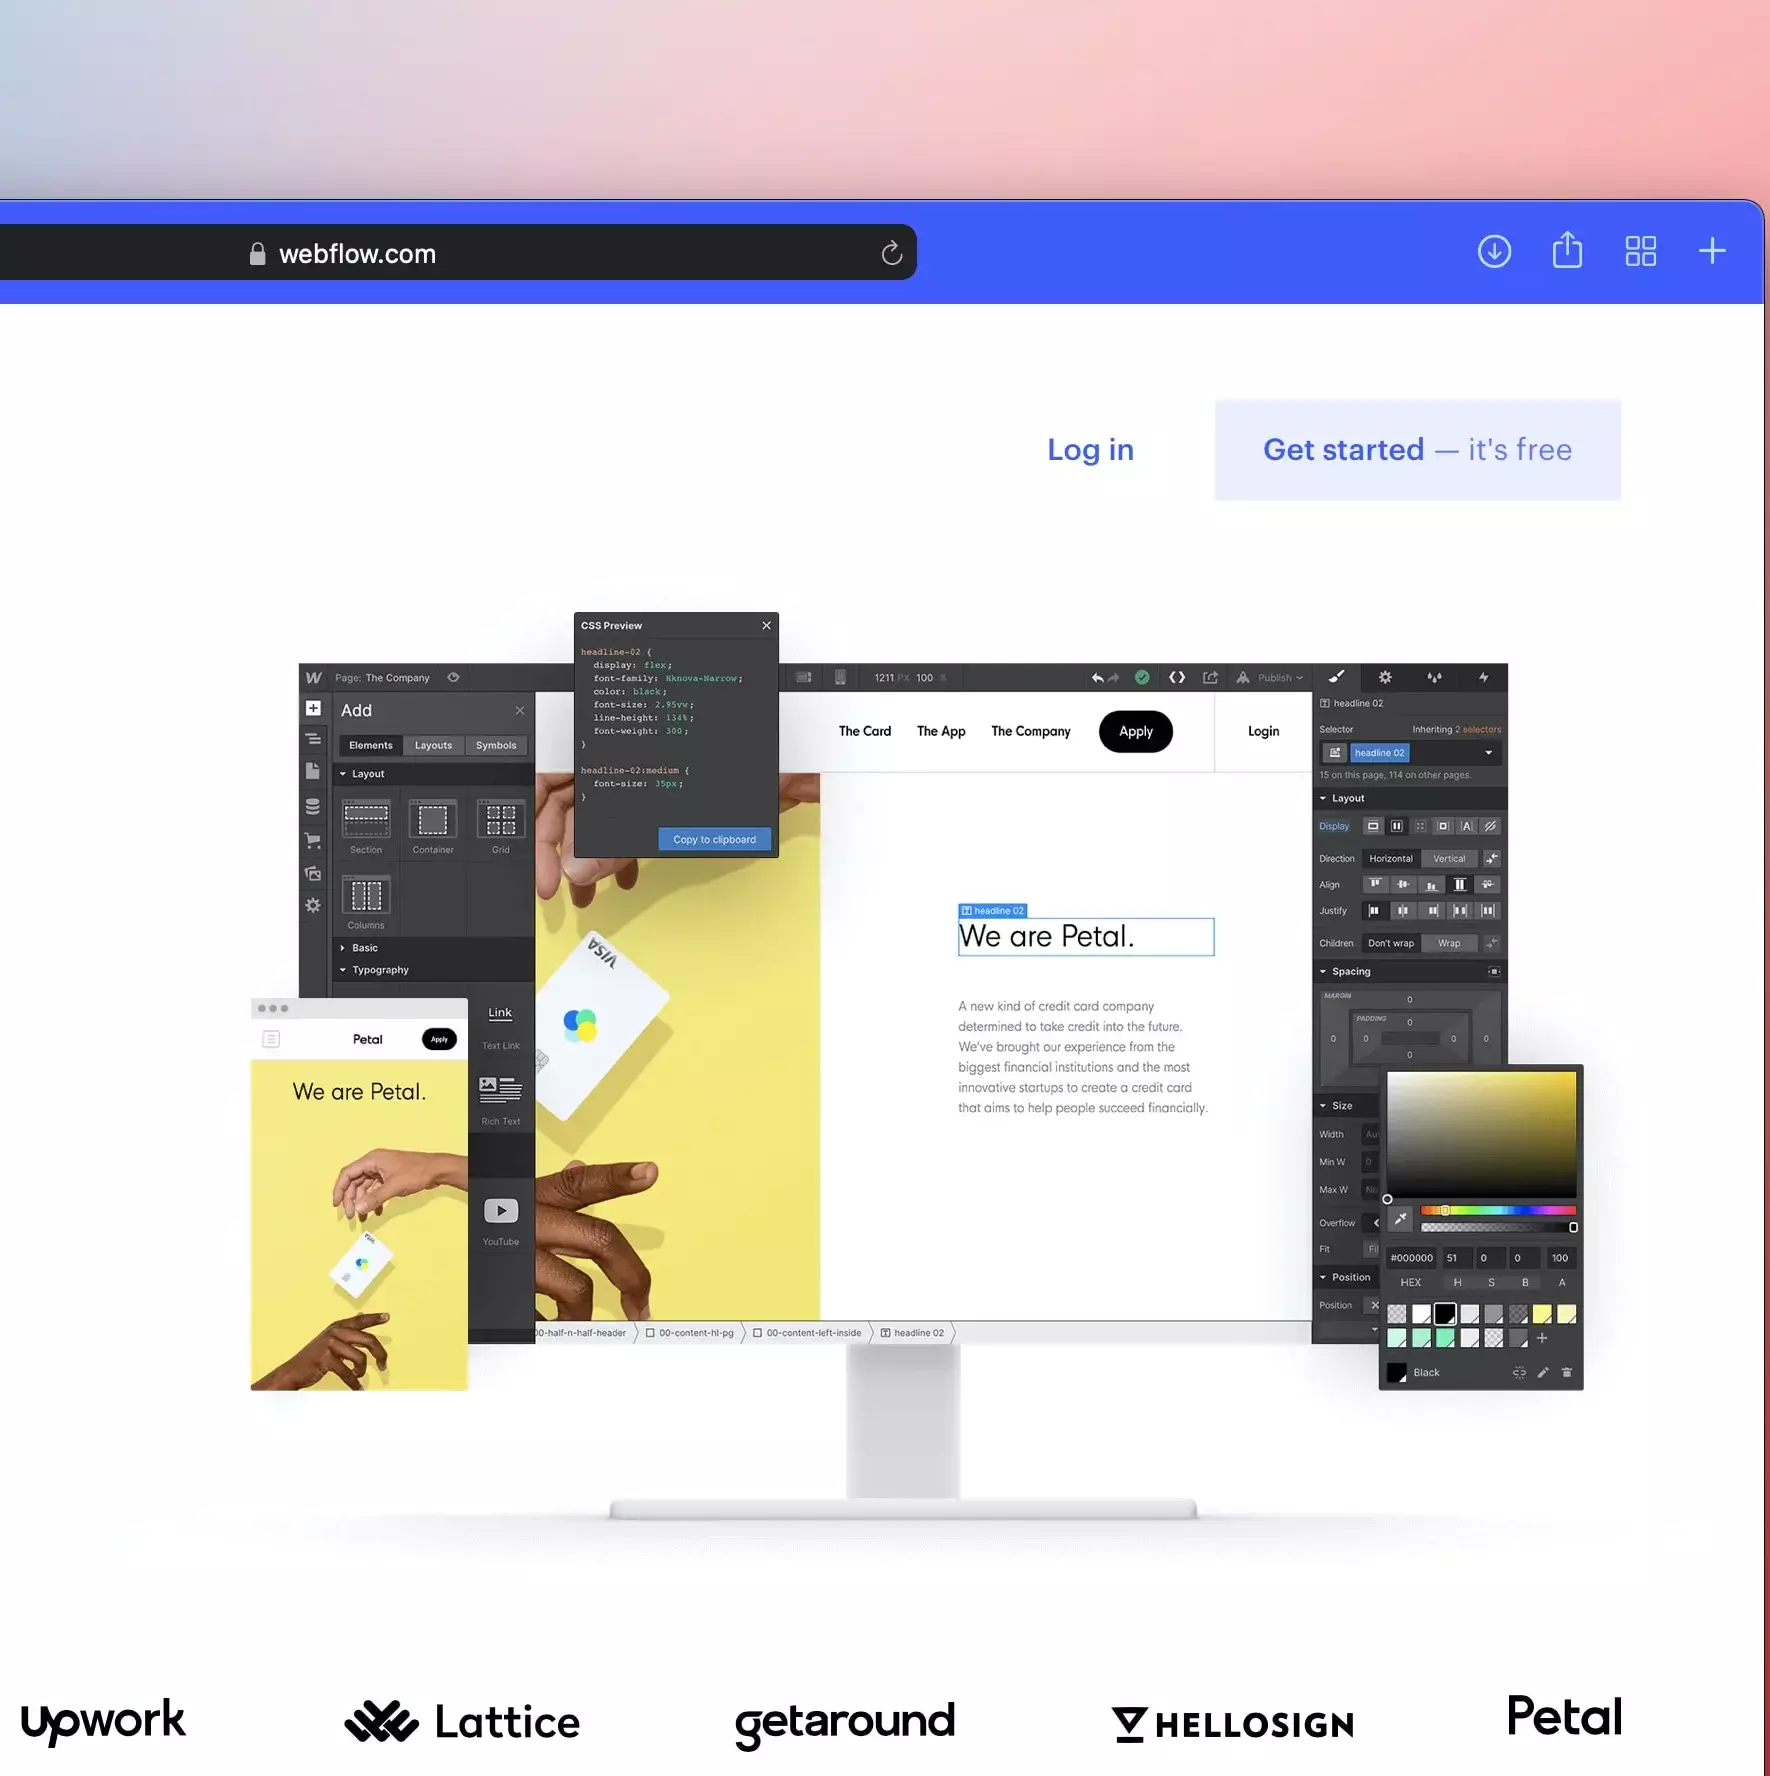
Webflow is a powerful website builder that's perfect for creating visually stunning sites with precise control over every aspect of your design. Here's a quick rundown of some basic website editing techniques in Webflow:
Access the Editor: Log into your Webflow account, navigate to the project dashboard, and click on the project you want to edit. Once in the Designer, you'll see a toolbar on the right side with all the tools you need for website editing.
Edit Text: To edit text, simply click on a text element, and start typing or make changes to the existing content. Don't forget to hit "Save" when you're done. You can also change text styles and formatting by selecting the text element and adjusting the settings in the right panel.
Change Images: To change an image, click on the image element, and select the "Choose Image" button in the settings panel. Upload a new image and click "Save." You can also adjust the image size, position, and other properties in the same panel.
Add or Remove Elements: Adding or removing elements is a breeze. To add a new element, click on the "+" icon in the toolbar, and choose from the list of available elements. To remove an element, select it and hit the "Delete" key.
Customize Layout: Webflow allows you to create responsive layouts using CSS Grid and Flexbox. To customize the layout of your page, select a container element and adjust the layout settings in the right panel. You can also control the spacing, alignment, and distribution of elements within a container.
Style Your Site: To style your site consistently, use Webflow's global style settings. Access these settings by clicking on the paintbrush icon in the toolbar, and customize your site's fonts, colors, and other design elements.
Publish Your Changes: Once you've made all the necessary edits, click the "Publish" button in the top-right corner of the Designer to make your changes live.

Shopify – E-commerce Simplified
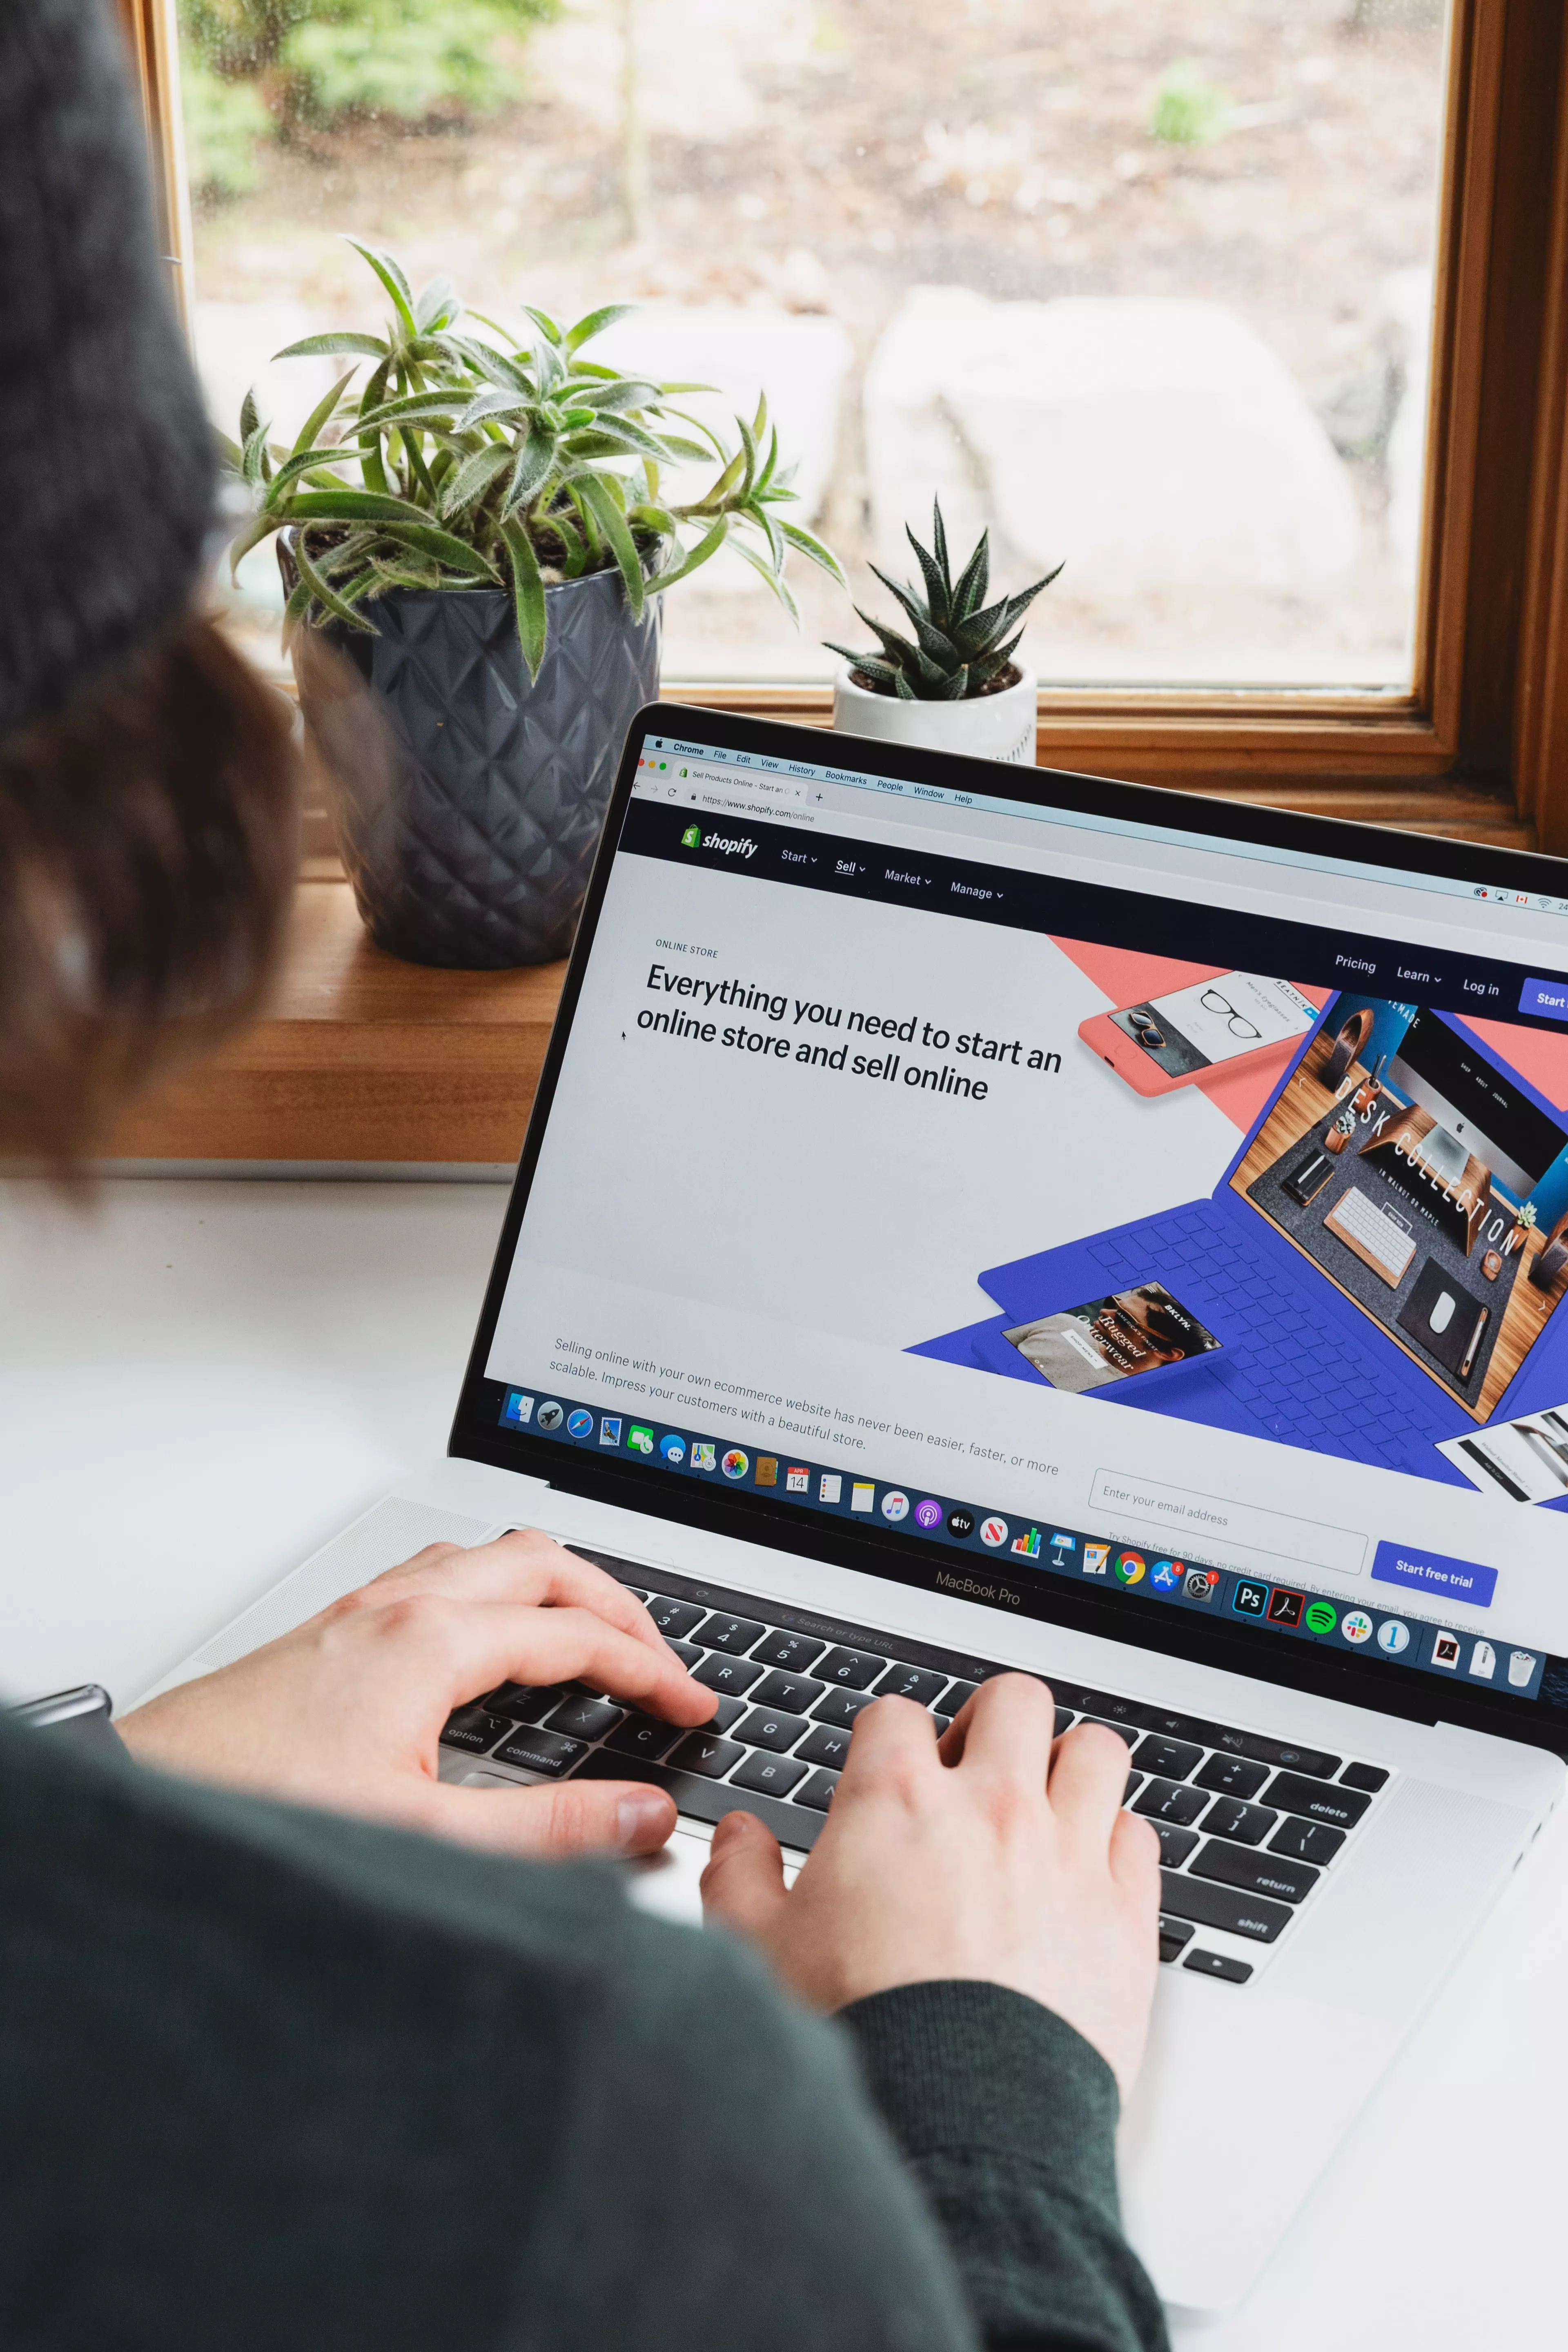
Shopify is the go-to platform for business owners who want to set up an online store with minimal hassle. Here's how to make basic website editing changes in Shopify:
Access the Editor: Log into your Shopify account, go to "Online Store," and click "Themes." From there, select the theme you want to edit and click "Customize."
Edit Text: To edit text, click on the text element you want to change. An editing panel will appear on the left side, allowing you to make changes to the content. Be sure to hit "Save" when you're done. You can also change text styles and formatting by selecting the text element and adjusting the settings in the left panel.
Change Images: To change an image, click on the image element and select "Change" in the editing panel. Upload a new image and click "Save." You can also adjust the image size, position, and other properties in the same panel.
Add or Remove Elements: To add or remove elements, navigate to the "Sections" tab in the editing panel. Click "Add Section" to add a new element or click the "Remove" button next to an existing element to delete it.
Customize Navigation: To edit your site's navigation menu, click on "Navigation" in the left panel. You can add, remove, or rearrange menu items and create dropdown menus to improve the user experience.
Change Theme Settings: Shopify themes come with various settings that allow you to customize the look and feel of your store. To access these settings, click on "Theme Settings" in the left panel, and adjust colors, typography, and other design elements to match your brand.
Add or Modify Pages: To add or modify pages on your Shopify site, go back to your Shopify admin dashboard, click "Online Store," and then "Pages." From here, you can create new pages, edit existing ones, or rearrange their order.
Publish Your Changes: After making your edits, click "Save" in the top-right corner of the editor to publish your changes.

Square – Seamless Online Presence
Square is a user-friendly platform that lets you build a website, sell online, and manage your business effortlessly. Here's how you can edit your website in Square:
Access the Editor: Log into your Square account, click "Online," and select "Website." Choose the website you want to edit and click "Edit Site."
Edit Text: To edit text, click on the text element and start typing or make changes to the existing content. Remember to hit "Save" when you're done. You can also change text styles and formatting by selecting the text element and adjusting the settings in the right panel.
Change Images: To change an image, click on the image element, and select "Replace" in the settings panel. Upload a new image and click "Save." You can also adjust the image size, position, and other properties in the same panel.
Add or Remove Elements: To add a new element, click on the "+" icon in the toolbar, and choose from the list of available elements. To remove an element, select it and click on the trash bin icon that appears.
Customize Layout: Square makes it easy to create a responsive layout using their built-in tools. To customize the layout of your page, select a section or container element and adjust the layout settings in the right panel.
Style Your Site: To style your site consistently, use Square's global style settings. Access these settings by clicking on the paintbrush icon in the toolbar, and customize your site's fonts, colors, and other design elements.
Manage Pages and Navigation: To add, edit, or rearrange pages, click on the "Pages" tab in the toolbar. You can also customize your site's navigation menu by clicking on the "Navigation" tab and adjusting the menu items.
Publish Your Changes: Once you've made all the necessary edits, click the "Publish" button in the top-right corner of the editor to make your changes live.
There you have it, folks – the ultimate guide to website editing for your Ideatech Creatives-built website. Whether you're using Webflow, Shopify, or Square, these simple steps will help you keep your website fresh, engaging, and up-to-date. Remember, a well-maintained website not only looks great but also boosts your online presence and credibility as a business owner or entrepreneur.
Now that you're equipped with the knowledge, it's time to put it to use! Go ahead and make those website edits you've been thinking about, and don't hesitate to reach out to our expert team at Ideatech Creatives if you need any assistance. We're always here to help you succeed!
 Schedule A Free Consultation


